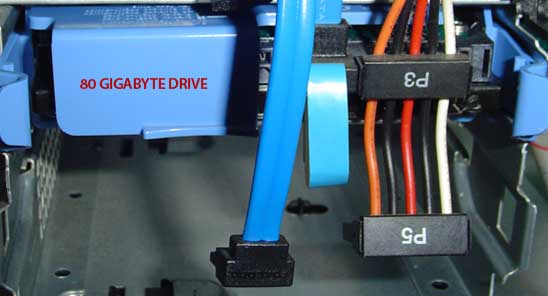
This review is being done on a desktop computer but the process can easily be duplicated on a laptop using an external drive case. Here is a picture of the 80 Gigabyte drive sitting lonely in this desktop.
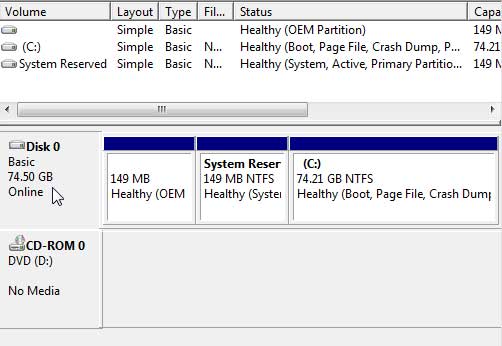
The Windows Drive Manager shows the hard drive that needs upgrading. It is an 80 Gigabyte drive that only shows 74.5 gigs but that is just a disagreement in the terms that the drive manufacturers and Windows has had for a very long time. Now I will shut the computer down and install the larger drive as a secondary drive to resume the cloning process.
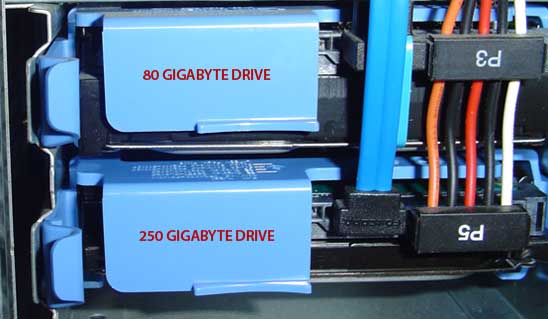
I installed the drive as this picture shows.
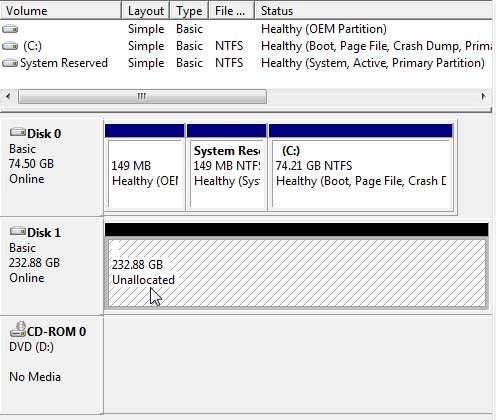
As you can see by the Windows Drive Manager, the original disk is drive 0 and the new 250 Gigabyte drive is unallocated space marked as Disk 1. Soon that will be the main drive with a little help from Acronis True Image.
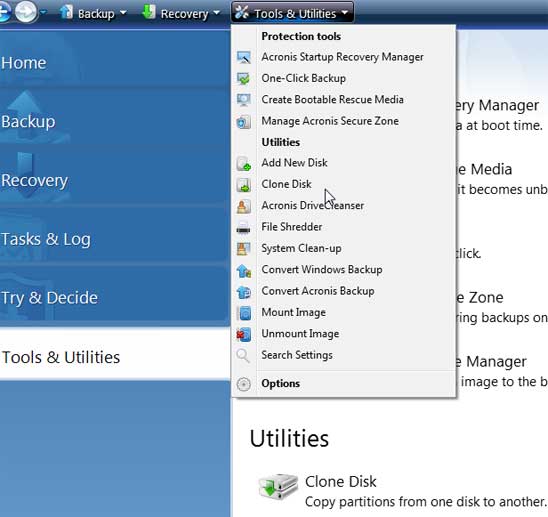
For this review, the Clone Disk utility will be used to copy the partitions from one disk to another. The Clone Disk utility is found under the Tools and Utilities button or tab.
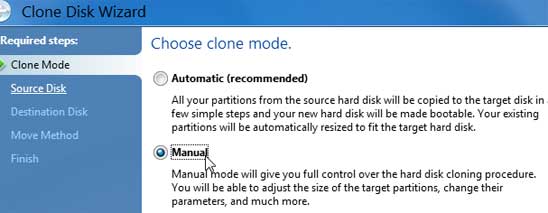
Here is the Clone Disk Wizard which walks you through the cloning process. I chose to do a manual clone so I can leave room on the disk for an additional partition for future use.
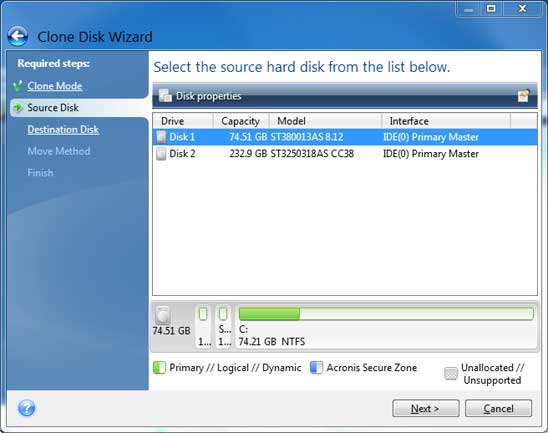
The Acronis Clone Disk Wizard then gives you the option to select the source hard drive. Make sure the appropriate source disk is chosen because if you were to choose the empty disk as the source, you would clone that disk to the disk you want to clone and all of your data would be overwritten.
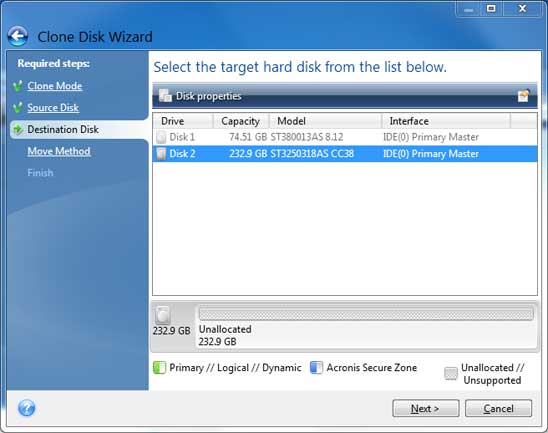
The next step is to choose the target disk.
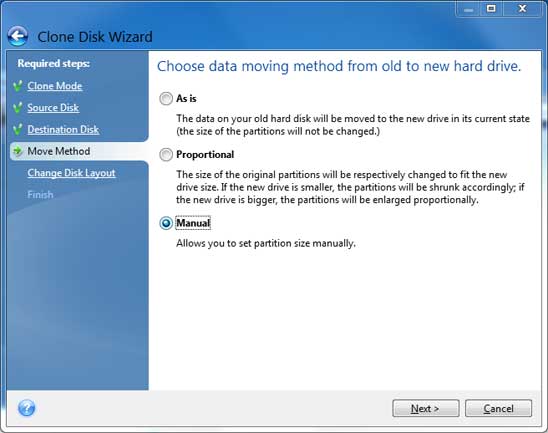
The next step gives you three methods to move the data to the new drive; As Is, Proportional or Manual. The choices are fairly self explanatory. I chose the manual method so I could set the partition sixe manually.
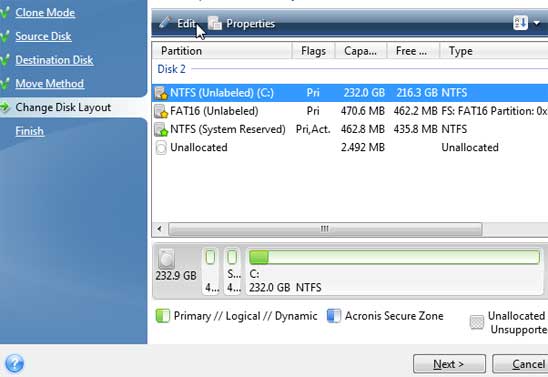
The next step allows you to change the disk layout. I selected the C Drive and clicked on the Edit button to change the size of the partition.
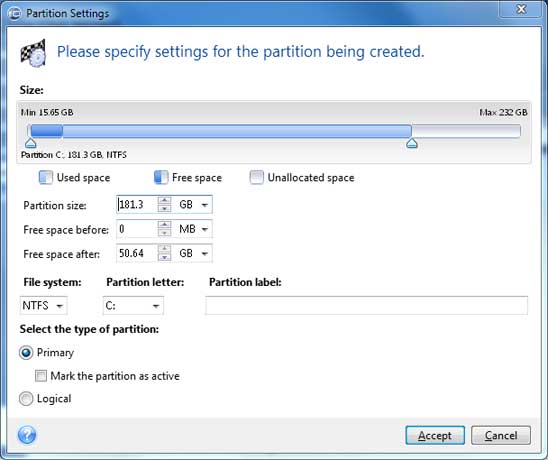
I chose to leave about 50 Gigabytes of free space available after the primary partition and clicked Accept.
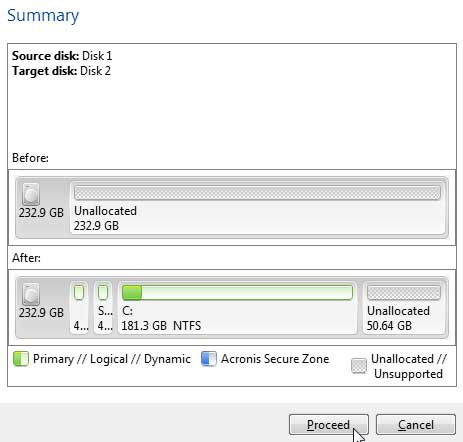
Then I was shown a quick summary about what Acronis True Image was going to do to my drives. It looked good to me so I clicked the Proceed button.
A screen popped up saying that a reboot was required to complete the operation so I quickly saved this web page and hit the reboot button.
The hard drive cloning finished in low level mode and when it was done, it told me so. It was recommended that I remove the old drive so I did so. This is what the Windows 7 Drive Manager shows now.

As you can see, the Acronis True Image cloning process did exactly what it was supposed to do. The utility moved the entire contents of a small hard drive to a larger drive while letting me keep some unallocated space left over to play with.
This review of using Acronis True Image to upgrade a hard drive shows just how easy it is to install a bigger drive in a computer without reinstalling Windows using the Clone Disk Utility. This utility is a lifesaver, if not a lifesaver, definitely a time saver anyway.

|
